Create a Shopify store
Let's create your affiliate site using Shopify! To reiterate, yes, Shopify is an eCommerce platform, but it's also a great option for building an affiliate marketing site. For more detail on why, check out our rationale here.
Create your store
- Head over to Shopify and sign up for the free trial with your email address. No credit card is required until you are ready to launch your site.
- We recommend manually setting your store name, so set it to the name that you have in mind for your site
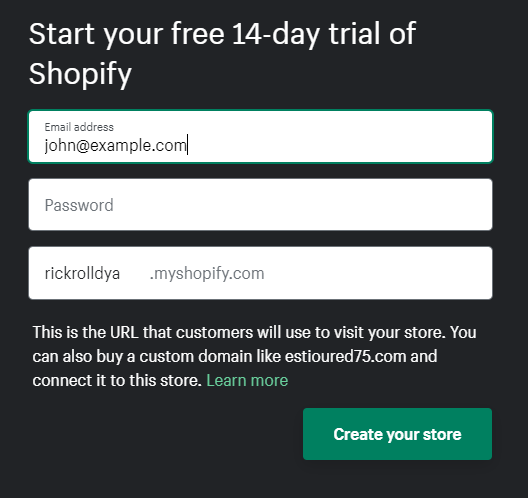
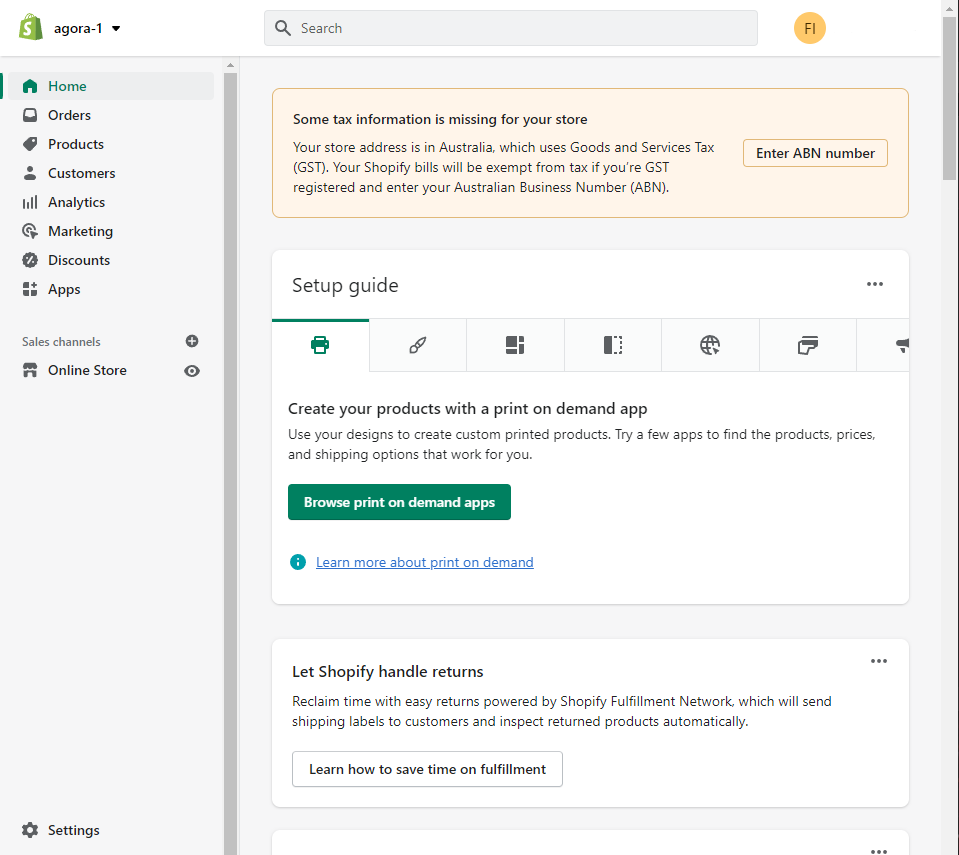
- Follow the prompts, and eventually you'll find yourself at the Shopify dashboard of your new store!
Showing blog posts on your home page
By default, blog posts won't appear on your home page. Not to worry though, it's easy enough to add them (and customise the rest of your home page as well):
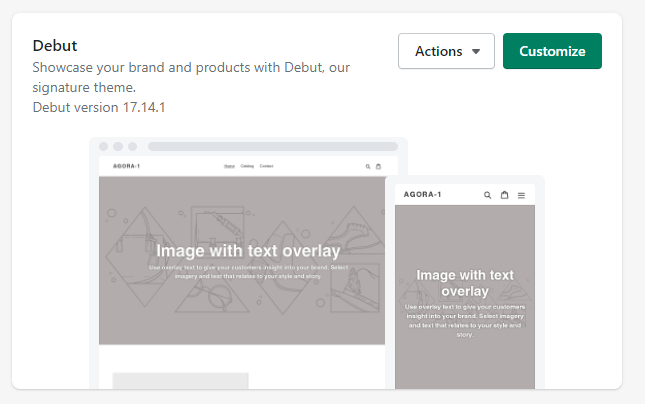
- From the Shopify dashboard home, Go to Online store > Themes
- Click Customize
- You'll then enter the theme editor, where you can easily customise not only your home page, but all pages in your store.
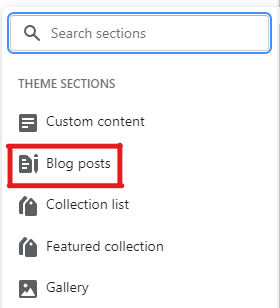
- In the left hand column of the theme editor, click Add section

- Search for Blog post and click it.
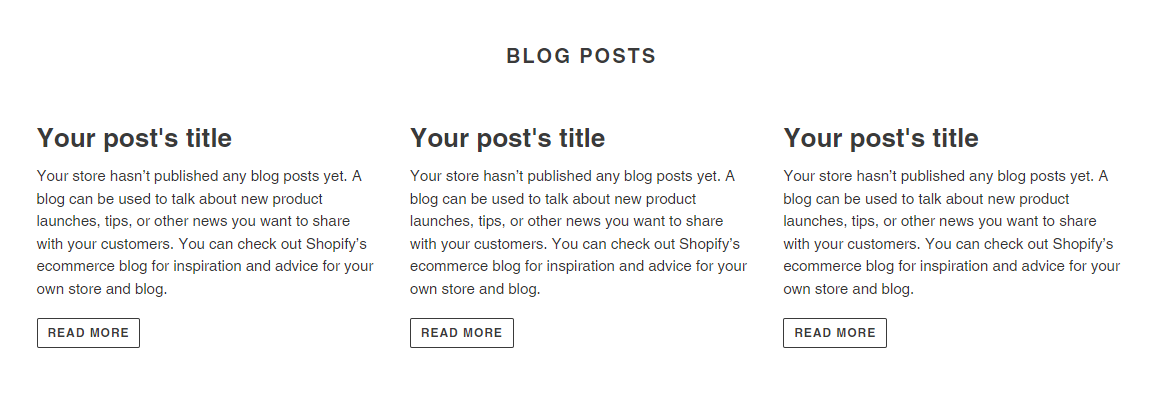
- You should now see a blog posts section pop up on your home page! You can customise it using the options that appear on the right hand side. Also have a go at customising the rest of your home page by adding, removing and reorganising sections as you wish.
Custom domains
You can purchase and activate your own custom domain within Shopify itself following this guide. This removes the .myshopify.com bit from the web address of your site.
You don't necessarily need it at this stage though. You can wait until your site is ready to go live before going ahead and purchasing it.
Adding an Amazon Affiliate disclosure
One key rule of the Amazon Associates program is that you must disclose that you will receive a commission whenever a user purchases through the affiliate links on your site. This can be implemented easily on your Shopify site using a little-known trick:
- From the Shopify dashboard, click Settings
- Then click Languages, then Change theme language
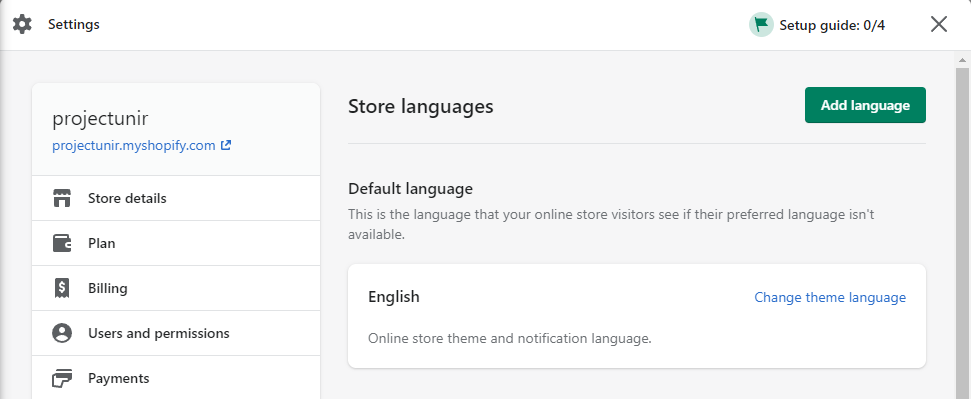
This part of the Shopify dashboard allows you to edit every tiny little passage of text on your site, from what's displayed when there's an error to what text should be displayed in the search button. For us, we're going to use it to replace the "Powered by Shopify" tagline in the footer of your site with your disclosure.
As you can see, there are a lot of fields that can be tweaked. Type powered in the search bar, and you should see the "Powered by shopify" field come up

- In this field, simply paste your disclosure and save your changes. If you now go to the footer of your site you will see that your changes have been applied!

Not sure what to put as your disclosure? Well in Amazon's terms of service they stipulate that you must use the following text as your disclosure:
As an Amazon Associate I earn from qualifying purchases.
In practise however, you can change the wording to match the branding of your site. So long as you clearly communicate that you will earn commissions from purchases via your affiliate links, you will be fine.
Need help?
As Shopify is such a widely used platform, most problems you may come across are just a simple Google search away. Shopify themselves also have great support documentation, which you can access here.